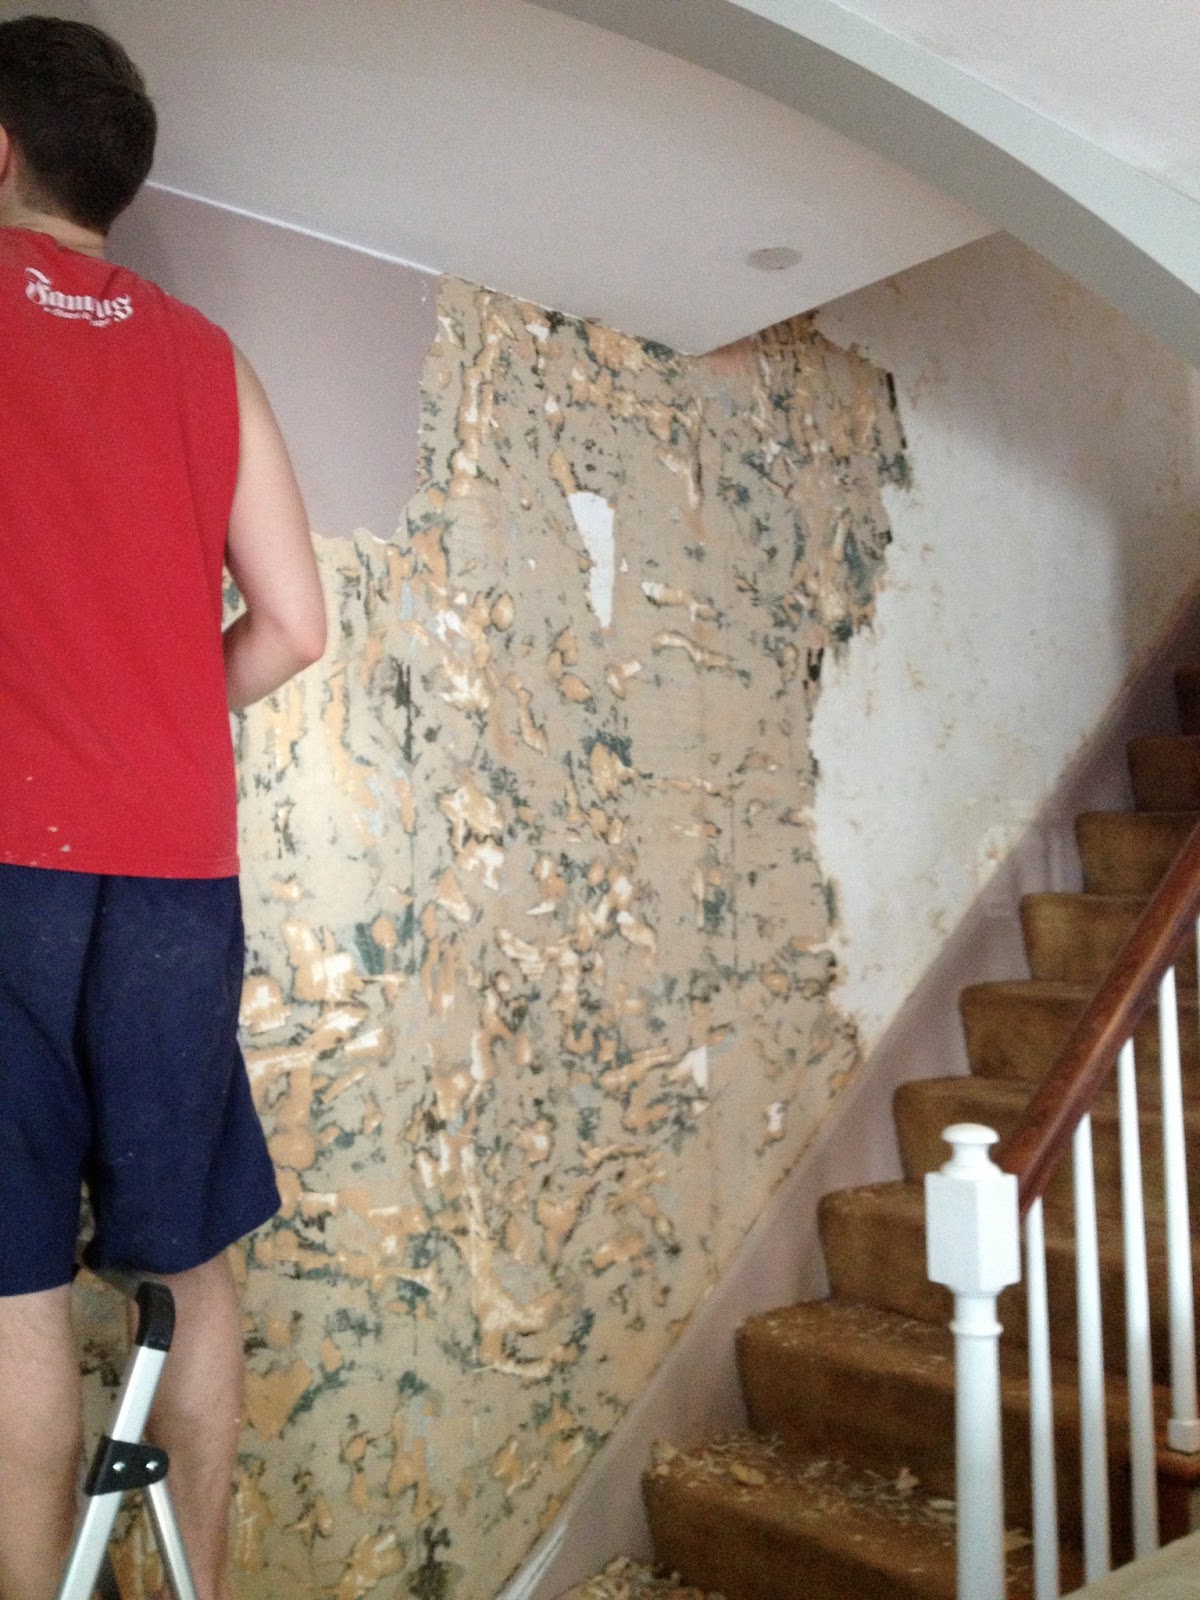
Hopefully this one picture says it all. YES!!!
3.09.2013
3.03.2013
A cute cart.
We recently took a trip to IKEA and I finally, finally, FINALLY broke down and bought this cart. Totally worth it.
First, I put it together myself. No need to call for assistance!
Twenty minutes later and without any big problems, she was all together!
I decided to have her be my sewing cart. I had recently stored all of my sewing things in a drawer and that became pretty annoying fast. Now, it is all easily accessible and it looks pretty cute too.
If anyone else is holding out on this cart - don't waste any more time!
3.02.2013
Clear views.
We added two new windows a few weekends ago. And my, you can feel & see the difference. G-daddy came over and assigned Ryan as assistant; therefore, I didn't need to do a thing!
We added a window to the kitchen...
and one to the bathroom.
Here's the translucent glass we got for the bathroom. It is awesome! We no longer have to continually see our neighbor's tidy yard! And even better, we have more light in the bathroom without having blinds. It was a little tough getting used to it - I felt like even though I couldn't see out, people could see in when it was dark outside. I had Ryan test it by going outside and stalking - we are safe. No worries!
Maybe we will save some money on our energy bill now!
2.24.2013
A glimpse of white!
It was time to start getting the trim primed in the sun room. To prepare, I lightly sanded all of the trim to allow for a smooth coat of primer to stick. I caulked around the window for a clean finish. Then I cleaned and wiped down the trim to get rid of all the dust and extra grime.
And then I did my favorite thing EVER! (Sarcasm here folks..). PRIMED!
Although it is just primer, boy, what a difference!
Next step; a top coat on the primer and then I can finally paint the room!!
2.23.2013
A-l-m-o-s-t there.
Ryan took it upon himself to "get-er-done" a few weekends ago.
Some action shots:
Some Zooey-is-super-nosey shots.
And last, the Kristin-has-clean-up-duty shot.
2.18.2013
Primer War.
Onto the "prime war" that I mentioned yesterday. The ceiling in our sun room had some type of varnish on it. I first tried KILZ low voc primer. We had bleed through after 4 coats of primer. It was yellow and getting in those cracks was beyond a pain-in-the-you-know-what.
Being impatient, I painted 3 coats of ceiling paint on top of that thinking that would cover it up. Nope!
Then, I went out and got the oil-based primer. And boy, that was awesome. One coat of that and BAM, it was covered. Though, clean up from oil-based paints is also a pain-in-the-you-know-what. That stuff took scrubbing to get off my hands and my poor brush! That was no fun.
Then after that, it took one good coat of ceiling paint and a thin coat after that.
AND I WAS DONE! I did a little "happy dance" and wow, what a difference.
The ceiling is DONE.

The brick is primed and ready for paint. The windows and trim - haven't even touched that yet. My plan next is to lightly sand, prime (oh boy!), and paint all of the trim around the windows and door a nice shiny white. Then last, the walls and brick get a nice coat of paint. More on that another day.
So the math?
4 coats of KILZ + 3 coats of Ceiling Paint + 1 coat of Oil-based Primer + 2 coats of Ceiling Paint = a very sore yet victorious homeowner.
2.17.2013
Prep Work.
Behold, our sun room.
Dark. Dank. Dreary. Desolate. Dead.
You get the picture.
And yes, exposed brick! Yet, it's too red and let's face it - we don't like red.
Therefore, today was prep day. I pulled out all of our tarps...
caulked every crack and crevice that I came across....
...and started the "priming war" on the ceiling and brick.
Let's just say, I came out victorious but not without the pain in my back, neck, and fingers.
More on my progress tomorrow. But a teaser?? It. Is. Awesome.
Subscribe to:
Posts (Atom)